Monday, May 20, 2013

Adding Repository(Software source) in UBUNTU / DEBIAN LINUX


# cat /etc/*release* | grep DISTRIB_CODENAME
DISTRIB_CODENAME=raring

Back up the Old Repolist file
# cp /etc/apt/sources.list /etc/apt/sources.list.backup

Repository List file /etc/apt/sources.list .Here is the format to read the content of this file

deb: These repositories contain binaries or precompiled packages. These repositories are required for most users.
deb-src: These repositories contain the source code of the packages. Useful for developers.
http://us.archive.ubuntu.com/ubuntu: The URI (Uniform Resource Identifier), in this case a location on the internet/ or a local server URL.
raring: is the release name or version of your distribution.
main , restricted & multiverse : are the section names or components. There can be several section names, separated by spaces.

New Entry is
deb http://us.archive.ubuntu.com/ubuntu raring main restricted multiverse

Just visit this uri in Webrowser http://us.archive.ubuntu.com/ubuntu to see the multiple folder inside ,which are the components.

Refresh the package list and install softwares.
# apt-get update
# apt-get install gedit

STATIC IP CONFIGURATION IN UBUNTU / LINUX


# cat /etc/network/interfaces
-----------------------interface file--------------------------------
# This file describes the network interfaces available on your system
# and how to activate them. For more information, see interfaces(5).

# The loopback network interface
auto lo
iface lo inet loopback

# The primary network interface
auto eth0
iface eth0 inet static
address 192.X.X.X
netmask 255.Y.Y.Y
broadcast 192.X.X.X
gateway 192.X.X.X
dns-nameservers 192.X.X.X

-----------------------interface file ends-----------------------------

# ifconfig eth0 down
# ifdown eth0
# service networking restart

# ifconfig eth0

route info
# route -n

dns-servers placeholder under /etc/network/interfaces updates <resolve.conf> info too.

# cat /etc/resolv.conf
nameserver 192.X.X.X


CPU Frequency Governors / Power Schemes in LINUX


This feature is available since 3.4 Kernel.
To see the current speed.
watch grep \"cpu MHz\" /proc/cpuinfo
cat /sys/devices/system/cpu/cpu0/cpufreq/scaling_max_freq
cat /sys/devices/system/cpu/cpu0/cpufreq/scaling_min_freq

CPU POWER SCHEMES

Performance   - Full throttle CLOCK
Powersave     - Run the cpu at the minimum frequency
Userspace     - User Specified CLOCK
Ondemand      - Dynamically switch between CPU(s) available if at 95% cpu load
Conservative  - Dynamically switch between CPU(s) available if at 75% load

More Info
https://www.kernel.org/doc/Documentation/cpu-freq/governors.txt
https://wiki.archlinux.org/index.php/CPU_Frequency_Scaling

To See current power scheme, below is the command. To modify the current scheme just write the new scheme name to the each CPU scale_governor files.

# cat /sys/devices/system/cpu/cpu0/cpufreq/scaling_governor
ondemand
# cat /sys/devices/system/cpu/cpu1/cpufreq/scaling_governor
ondemand

INSTALLING UBUNTU 13.04 64bit OS under UEFI (GUID Partition Table)


UEFI BIOS Setting 

Fast Boot : DISABLED
Secure Boot : DISABLED/OTHER OS TYPE
CSM(Compatibility Support Module)
Boot Device Control : UEFI and LEGACY, UEFI First
Boot From Storage Device : UEFI and LEGACY, UEFI First

GTP Partitioning of the DISK

UEFI Mandates this GTP partition table. GPARTED tool makes this partition happen.
http://gparted.org
http://en.wikipedia.org/wiki/GUID_Partition_Table
Download ISO burn to CD/USB. Boot up and setup the Partition below vi GPARTED Application.
Before doing the partition, you have to format the disk with GTP partition table via GPARTED.

400MB System Partition FAT32 as per the UEFI and GUID Partition Table Specifications. This has to be in the start of the disk. Make sure to set the BOOTABLE flag = true
250GB NTFS
30GB  EXT4 for Linux root
4GB   LINUX-SWAP  
Apply/Commit all the changes to the disk.


BOOTING IN UEFI Mode

Most Important : Make sure to Boot the UBUNTU 13.04 CD in UEFI CD Boot mode. There shall be plain boot mode for the same CD. Careful in your selection.

More Info @ https://help.ubuntu.com/community/UEFI


Now boot up the UBUNTU 13.04 CD in UEFI mode.

400MB System partition has to be mapped to EFI PARTITION as File system during the UBUNTU installation. Rest of the Partition have be mapped for UBUNTU installation(ie root and swap).

After the installation and reboot,you shall see this layout below. GRUB2 is installed under EFI PARTITION which is mounted as /boot/efi

# df -kh
Filesystem      Size  Used Avail Use% Mounted on
/dev/sda3        30G  904M   28G   4% /
/dev/sda1       400M  132K  400M   1% /boot/efi

SHOW PARTITION TABLE

# gdisk
GPT fdisk (gdisk) version 0.8.5
Type device filename, or press <Enter> to exit: /dev/sda
Partition table scan:
  MBR: protective
  BSD: not present
  APM: not present
  GPT: present
Found valid GPT with protective MBR; using GPT.

Command (? for help): p
Disk /dev/sda: 3907029168 sectors, 1.8 TiB
Logical sector size: 512 bytes
Disk identifier (GUID): 7FE7EE77-D71C-48B5-B2EF-BEDA1B4C4C7E
Partition table holds up to 128 entries
First usable sector is 34, last usable sector is 3907029134
Partitions will be aligned on 2048-sector boundaries
Total free space is 1213466733 sectors (578.6 GiB)

Number  Start (sector)    End (sector)  Size       Code  Name
   1            2048          821247   400.0 MiB   EF00  EFI Partition
   2          821248       525109247   250.0 GiB   0700
   3      2097973248      2160887807   30.0 GiB    0700  Dom0 root
   4      2160887808      2169276415   4.0 GiB     8200

Command (? for help): i
Partition number (1-4): 1
Partition GUID code: C12A7328-F81F-11D2-BA4B-00A0C93EC93B (EFI System)
Partition unique GUID: 97D85749-AEAF-4767-95D0-1AAA2905FA3C
First sector: 2048 (at 1024.0 KiB)
Last sector: 821247 (at 401.0 MiB)
Partition size: 819200 sectors (400.0 MiB)
Attribute flags: 0000000000000000
Partition name: 'EFI Partition'

ALL THE AVAILABLE PARTITION TYPES

Command (? for help): l
0700 Microsoft basic data  0c01 Microsoft reserved    2700 Windows RE
4200 Windows LDM data      4201 Windows LDM metadata  7501 IBM GPFS
7f00 ChromeOS kernel       7f01 ChromeOS root         7f02 ChromeOS reserved
8200 Linux swap            8300 Linux filesystem      8301 Linux reserved
8e00 Linux LVM             a500 FreeBSD disklabel     a501 FreeBSD boot
a502 FreeBSD swap          a503 FreeBSD UFS           a504 FreeBSD ZFS
a505 FreeBSD Vinum/RAID    a580 Midnight BSD data     a581 Midnight BSD boot
a582 Midnight BSD swap     a583 Midnight BSD UFS      a584 Midnight BSD ZFS
a585 Midnight BSD Vinum    a800 Apple UFS             a901 NetBSD swap
a902 NetBSD FFS            a903 NetBSD LFS            a904 NetBSD concatenated
a905 NetBSD encrypted      a906 NetBSD RAID           ab00 Apple boot
af00 Apple HFS/HFS+        af01 Apple RAID            af02 Apple RAID offline
af03 Apple label           af04 AppleTV recovery      af05 Apple Core Storage
be00 Solaris boot          bf00 Solaris root          bf01 Solaris /usr & Mac Z
bf02 Solaris swap          bf03 Solaris backup        bf04 Solaris /var
bf05 Solaris /home         bf06 Solaris alternate se  bf07 Solaris Reserved 1
bf08 Solaris Reserved 2    bf09 Solaris Reserved 3    bf0a Solaris Reserved 4
bf0b Solaris Reserved 5    c001 HP-UX data            c002 HP-UX service
ef00 EFI System            ef01 MBR partition scheme  ef02 BIOS boot partition
fd00 Linux RAID

Friday, May 10, 2013

DIY : Terrace Garden from PVC PIPE

Got this idea and began working on this. Here is how you do it.

DESIGN and BILL OF MATERIALS

What u need?


Cutting the Pipe. Since Hack Saw can reach MAX of 10 inch. We cut the pipe in batches.


Spare a few inches in the other end of PIPE. This remaining uncut PIPE keeps the shape sturdy.

Make sure to glue back some piece on the cut end of PIPE. This also keeps the shape sturdy.

Glue both ends of the PIPE with the cover using PVC solvent(glue)


Marking on the plywood

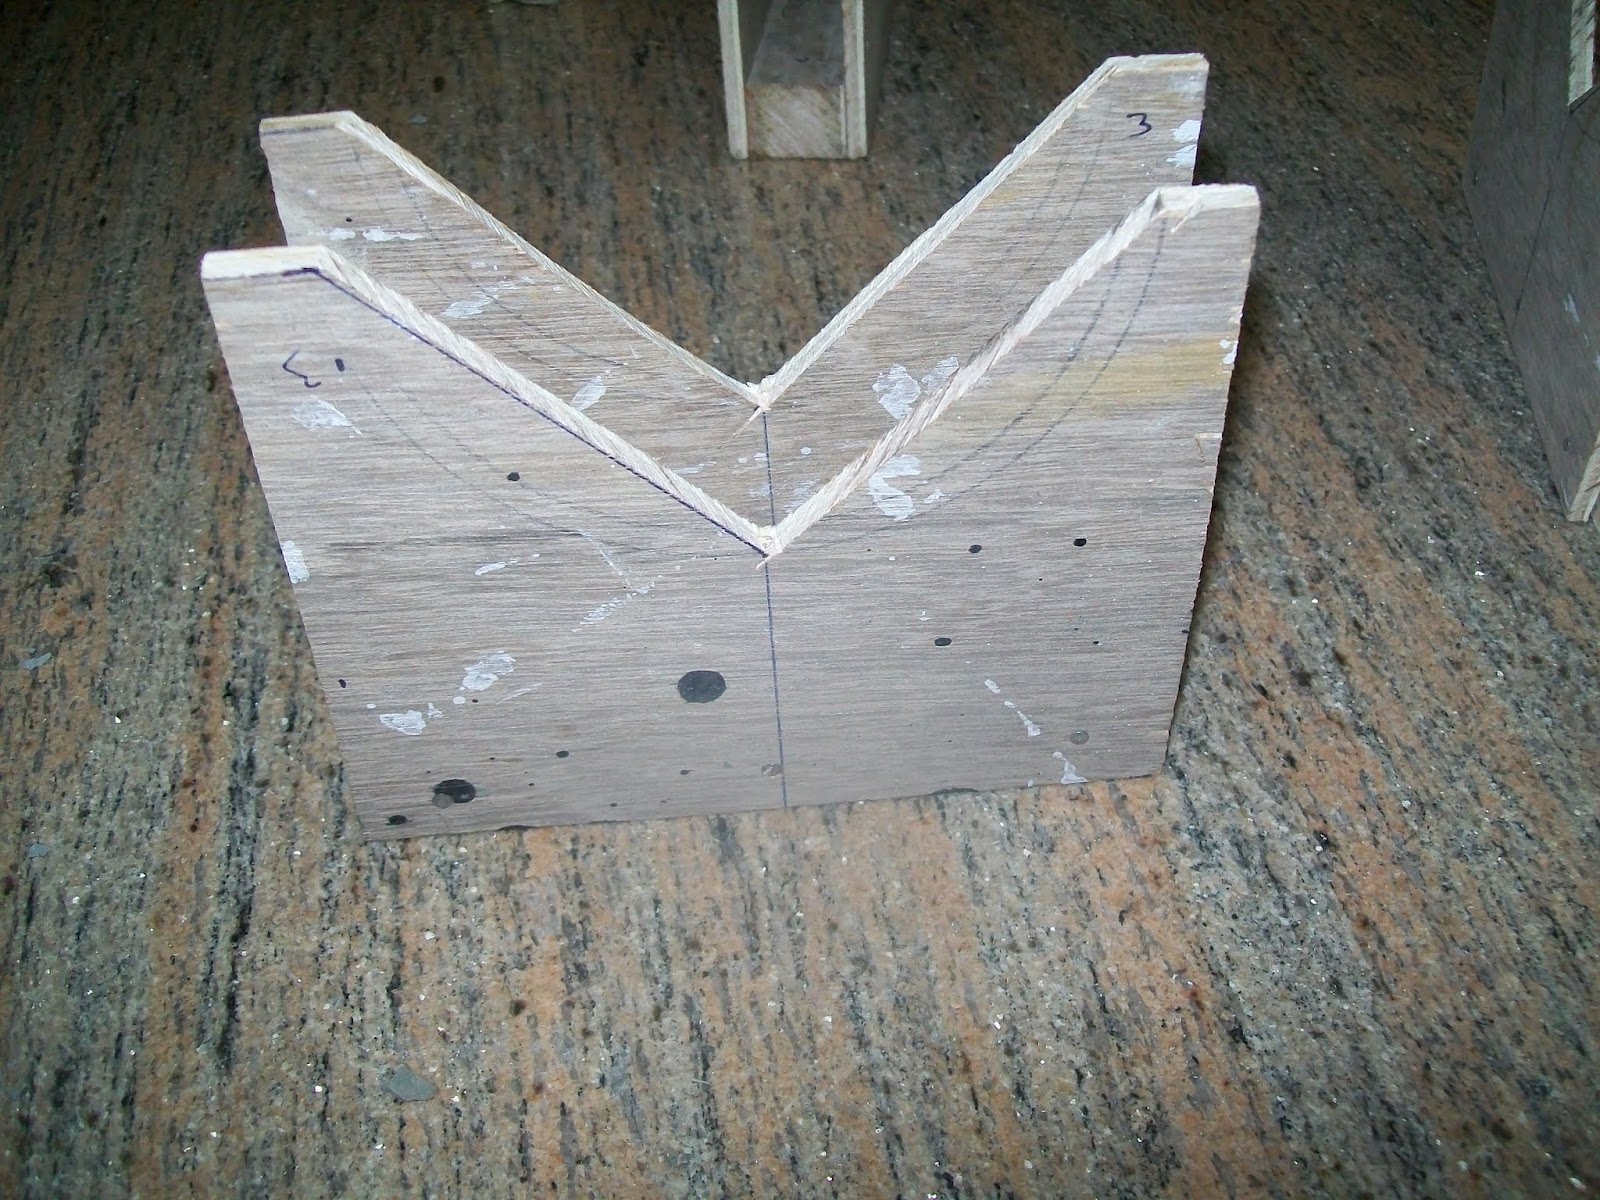
Single Support Structure

All the Support Structures

Final Product

Wait for a DAY for solvent to dry. Testing with water. 

Adding Soil

With Plants

HOW ECONOMICAL????

Cost of PVC 120mm dia PIPE is Rs 30 per feet , 6 * 30 = 180
Cost of Cap Rs 30 per piece                                30*2  = 60
Cost of Plywood                                  Roughly    50      = 50
Cost of Hack saw Blade Rs 10 per piece           1 * 10   = 10
PVC Solvent 100ml                                                       =  40
---------------------------------------------------------------------
Total                                                                             =  Rs. 340
---------------------------------------------------------------------

COMPARISON WITH BAKED CLAY POTS

POTS 5''inch in diameter and 4''inch in height. 
Let us assume we are planting seeds with distance gap of 2 inch from the adjacent one. 


IN PRICE (SAME SPACE occupancy)
Each POTs costs around Rs. 30. To occupy the same size as of PVC structure we need around => 5'10''/5'' =14 pots. This POTs costs around.14 * 30 = Rs. 420
But, PVC Structure cost = Rs. 340

IN SEED ACCOMMODATION 
Each POTs can hold 3 seeds considering 2 inch gap between adjacent ones. So 14 POTS can hold 14 * 3 = 42 SEEDS
PVC structure can hold two rows. Each row can take 70''/2'' = 35 SEEDS. So TOTAL = 70 SEEDS.

This type of PVC structure is easy to maintain. If you are concerned about plantation coverage on large scale, this idea can give you some answer for your problem.

Thursday, May 9, 2013

Train crossing Pamban Bridge, Rameshwaram


DIY : LED Panel [Rectangular/ Semi Circular] (Hack your old Emergency Light )

    Happen to create two new panels for lighting. All the Lights are connected parallel. The UNIT circuit is LED White(D) + Serial 450ohms Resistor(R) connected to a 6V 1Amp power source. 

HACK :     Ideal source is to look for Emergency Light. Hack it and you shall find a 6V 4.5Amp/Hours battery. Just solder this panel via switch to the battery. Don't disconnect the A/C Charging circuitry. Just turn off of the stock light on the emergency light. Instead use this panel to light your home. This Panel extends the battery support light to max of 90 minutes (@MAX recharge of BATTERY). You can extend this time even more by lighting less no of LEDs in the PANEL. 

FULL LED PANEL is sufficient to illuminate an entire HALL of dimension 20ft x 12ft. Sufficient for a TYPICAL Indian House.

Caution : Hack on Old Emergency Light involves working with A/C power.

BILL OF MATERIALS:      You Shall need a Plastic Switch BOX of dimension 6'' inches x 8'' inches (non-modular/Solid);120mm PVC pipe of length 10'' inches; Driller; LEDs White; LED Holder; 450 ohms resistor as same no of LEDs; Wire; Soldering Kit; Food Grade Aluminium Foil Paper(Used for reflection of light).

RECTANGULAR PANEL : Wall mounted. The light source is pointed in a straight line.

Drill on the Board.


Screw up the LED Holders in place


Reflective surface with the Paper

Circuitry. Remember each LED needs its own Resistor.


Final Product

In Action

SEMI-CIRCULAR PANEL : This Panel is useful if the Light source is fixed on the ceiling. The light is spread across the entire area of the room.