Wednesday, July 15, 2015

Entropy in Linux CentOS 6.5 / RHEL 6.5 @ Virtualization TYPE1 and TYPE2 (Performance considerations)

In computing, entropy is the randomness collected by an operating system or application for use in cryptography or other uses that require random data. This randomness is often collected from hardware sources, either pre-existing ones such as mouse movements or specially provided randomness generators. (source wikipedia)

Current Available Entropy in Linux Kernel
# cat /proc/sys/kernel/random/entropy_avail
58

Having a very low entropy generally affects cryptography operations (SSL, HTTPS etc).

Generally entropy is linked to device errors from the hardware. In perfectly virtualized setup (like xen, KVM, virtual box) error stream from hardware is masked by the hypervisor layer. It is recommended to generate entropy by utility programs.

# yum install rng-tools.x86_64

[root@perf04 init.d]# cat /etc/sysconfig/rngd
# Add extra options here
EXTRAOPTIONS="-r /dev/urandom -o /dev/random -t 5"
[root@perf04 init.d]# /etc/init.d/rngd status
rngd is stopped
[root@perf04 init.d]# /etc/init.d/rngd stop
Stopping rngd:                                             [FAILED]
[root@perf04 init.d]# /etc/init.d/rngd start
Starting rngd:                                             [  OK  ]

# cat /proc/sys/kernel/random/entropy_avail
2780

Friday, July 10, 2015

NFS Setup and Performance Tunning on RHEL 6.5 / CentOS 6.5

Install nfs in Server and Client

# yum install nfs-utils nfs-utils-lib nfs-common
# yum install portmap

At Server(192.168.1.1)

Edit /etc/exports file for which directory to export
# cat /etc/exports
/nfsfs 192.168.1.2(rw,sync,no_root_squash)

# chkconfig nfs on
# service rpcbind stop
# service nfs stop

# chkconfig nfs on
# service rpcbind start
# service nfs start

# exportfs -a


At Client(192.168.1.2)

# chkconfig nfs on
# service rpcbind stop
# service nfs stop

# chkconfig nfs on
# service rpcbind start
# service nfs start

# mkdir -p /nfsfs

# cat /etc/fstab
192.168.1.1:/nfsfs  /nfsfs   nfs      auto,soft,noatime,nolock,bg,intr,tcp,actimeo=1800 0 0
# mount -a

# df -kh
192.168.1.1:/nfsfs   44G  5.7G   36G  14% /nfsfs

VIM Editor Tips and Tricks (Linux and UNIX)

To replace ctrl M charter from a file.

:%s/^M//g

To make the above ^M to appear inside VIM command press ctrl +v then ctrl + m.

To Make the file format to UNIX.

When you open the file VIM reports file format as — DOS or Unix:

To modify the file format to UNIX use the below commands inside VIM

:set filetype=unix

:set fileformat=unix

The file will be written back without carriage return (CR, ^M) characters.

Remember to save.

:wq

In case you have to overwrite by force

:wq!

X11 GUI via SSH in CentOS 6 / RHEL 6

Enable X11 forward in Putty in local machine.


Install Cygwin in local machine and Open Xlaunch. use the following settings. Click all Next and close.


Launch the Putty session and connect to remote linux machine.

[root@test ~]# echo $DISPLAY
localhost:10.0
[root@test ~]#  xclock

Now gui Open a XWindow in your local machine.


CPU Clock Speed Monitoring in Linux

Shell command to Monitor CPU Clock speed in Linux

bash#  watch grep \"cpu MHz\" /proc/cpuinfo

Every 2.0s: grep "cpu MHz" /proc/cpuinfo                                                                                          
cpu MHz         : 2792.990

Sunday, January 11, 2015

DIY Table LAMP with LED Lightings

Materials Needed

LED LIGHT fixture + LED Driver
1/4 inch thick wood
Small 3/4 inch Plywood rectangular piece
3/4 inch screws
Small nails
Fevicol
Screws and Nuts
120MM diameter PVC pipe.
Driller + Multiple drill bits

The Basic Frames. Front side.

Back Side.


 Finished Product at Work. Lot of LUMENs.


DIY Power UPS/Inverter Cabinet

Materials Needed

3/4 inch Hard Plywood
2.5 inch Plywood sharp nails
Hammer
Hack saw
Circular saw
Glass + Handle + Hinges
Door Hinges
Primer Paint + Glossy Paint
Fevicol

This cabinet has two compartments. Upper one has a glass door containing POWER unit. Lower one has a Plywood door containing 60Kg Tubular Battery.

First we need a sturdy frame. Be generous on Fevicol + Nails on the wood joints.


 Door with the Hinges (120 degree one)
 More Bushes to take the load of the heavy battery.
 Plywood doors are fixed.

Glass doors are fixed. 
The finished product after the primer coat + Glossy coat of Paint.


DIY My Own Music Docking Station(AUX IN)

Materials Needed

Thin Plywood
Hack Saw
Mica sheet for the plywood
2 * Small Speakers ( I got mine from Old Sony W810i Mobile Walkman  Speakers)
2 * Amplifier circuit (You can make one too)
AUX IN cable with MALE PIN.
Wood Adhesive/ General Adhesive (fevicol)

Cut the Plywood.
 Join it with Nails and Fevicol.
 Mica Sheet.
Adding the under hood things (circuit boards).
 Finished Product.


DIY Refilling a dead Ink Jet Printer Cartridge

Material Needed

Refilling Ink Black + Color
Medical Syringes with Needle.
Blade.
Electric Insulation Tape/ Any adhesive tape.
PCB driller + 1mm drill bit.

 Remove the Label on the Cartridge. This is a color Cartridge.

 It has three tanks.
 Keep Drilling near the air hole. Once the hole is drilled, you can pull out the drill bit. Now note down the color of the drill bit. Residue ink inside the cartridge will stick to the drill bit. You need to fill the corresponding color to each tank.
 Inject the correct color. Once you are done injecting all the color inks, you need to cover the hole with the adhesive tape.
 Calibrate the Cartridge inside the Printer and go with a test run.

DIY Fish Tank Decorator a Tunnel and a Cave


Happen to build a Cave and a Tunnel for my Fish Tank. Our fish love it.... Here is how u do it.

DIY Cave

Materials Needed

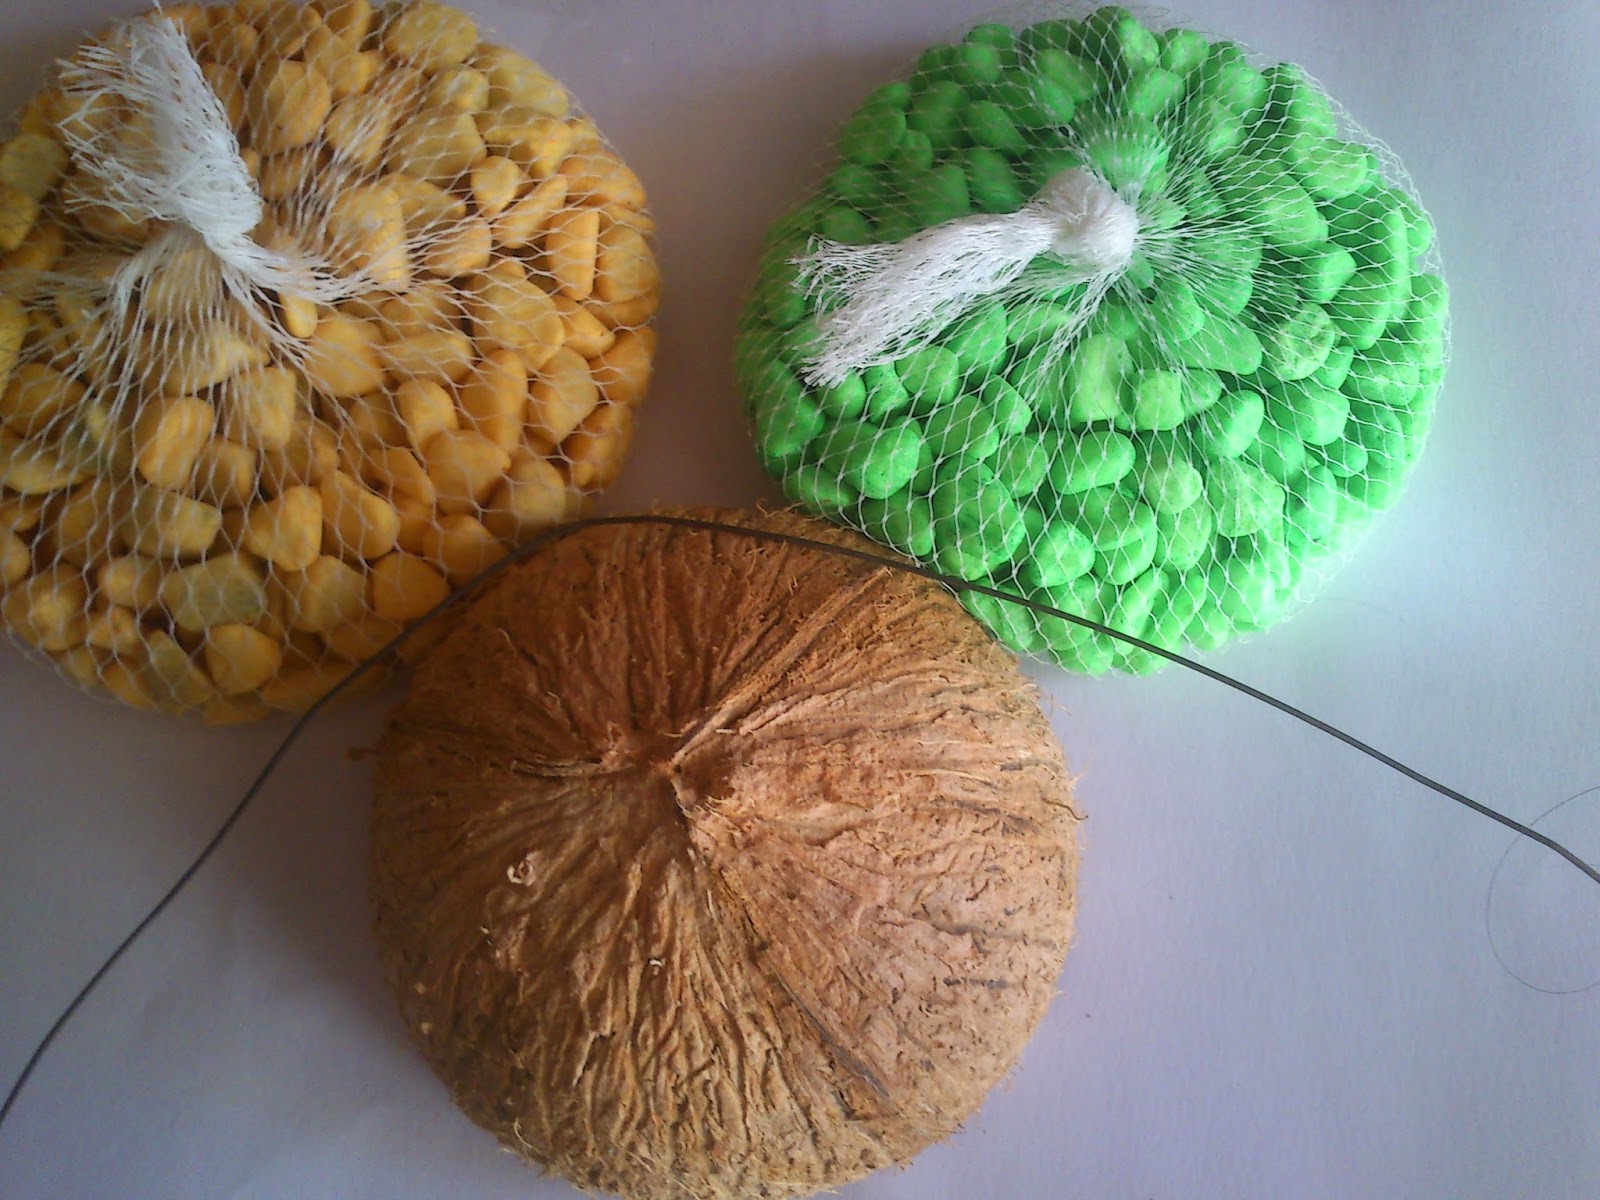
color stones
an empty coconut shell
strip of iron wire
white cement
river sand


 Create a basic frame on the coconut with the iron wire.
 Marking the cave entrance.
 Cut along the line with a HACK SAW.
 Embedded some stones between the metal frame and coconut. This space enable cement flowing smooth over the mold.
 Add water to white cement and stir.
Start with the masonry work over the mold.
 Baking under sun light to fasten the setting process.

DIY Tunnel

Materials Needed

white cement
river sand
broken floor tile
PVC pipe 120mm diameter
iron wire
 Make a iron mesh with the wire.
 Roll it over the tunnel pipe. Make sure to embed some stones in between.

 Mix white cement + water + river sand. Start the masonry work.

 Finally.
 Generally it takes 12 hours to dry. Make sure to water the mold the next day. More the time you wait for it to dry better the strength of the structure.

All the Hard Work fly away, when you see the fish are loving it. On the Fish Tank...!!!